The open road is behind you, and the perfect campsite awaits! While the drive may be the adventure, the real fun begins when you’ve completed setting up your RV at camp. This process is second nature for seasoned travelers, but for newcomers, it may feel like a complicated dance of leveling jacks and utility hookups. We’re here to provide a confident, step-by-step guide to transforming your vehicle into your comfortable home away from home.
Choosing the Spot for Setting Up Your RV
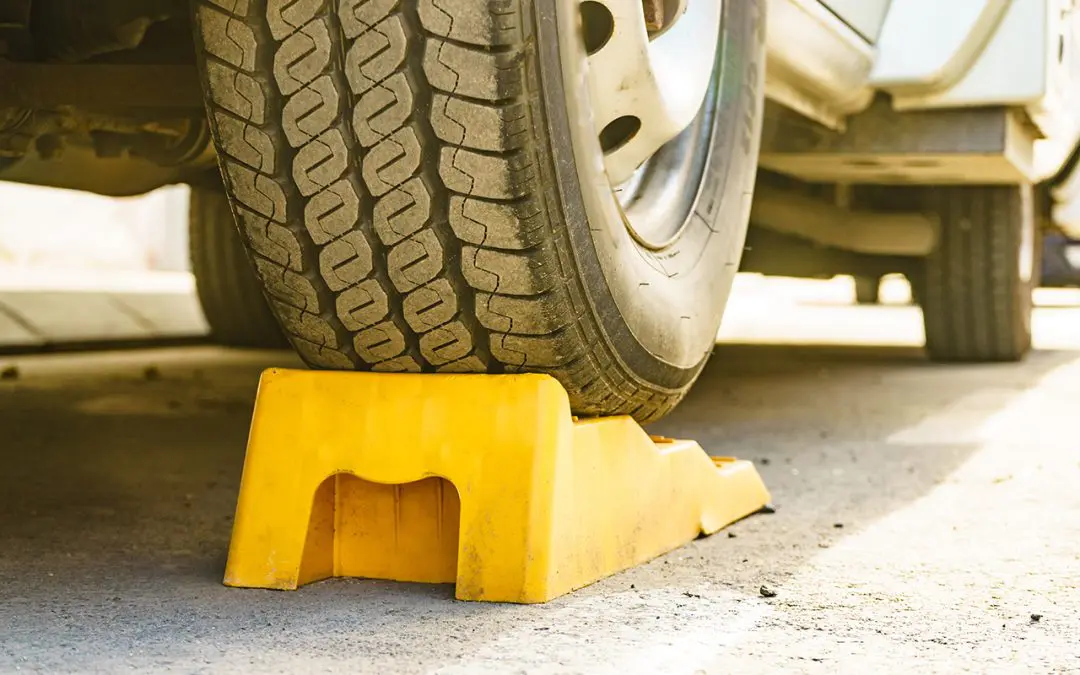
Before you unhitch or put down those stabilizers, parking is everything. A little extra care here saves massive headaches later. Pull into your spot slowly, paying close attention to any low-hanging branches, uneven ground, or obstacles that might interfere with slides or awnings. Your first objective in setting up your RV is finding a spot as level as possible. While modern RVs have leveling systems, starting close to level reduces stress on your equipment. Use leveling blocks or boards beneath your tires to make slight adjustments before you put the transmission into park. If you’re towing, now is the time to unhitch, guaranteeing the hitch is protected and ready for the road when you leave. Once satisfied with the position, set the parking brake and chock your wheels immediately, even if you’re on seemingly flat ground. Safety First!
Achieving the Perfect Level and Stabilization
Once parked, the actual work of setting up your RV begins with leveling and stabilization. This is critical not only for comfort but also for the proper functioning of your appliances, especially your refrigerator. For motorhomes or towables with automatic leveling systems, deploy them now. If you’re manually leveling a travel trailer, use your leveling jacks or hydraulic system to achieve a perfectly level coach, checking your work with a small bubble level. Remember that leveling jacks are for leveling, and stabilizer jacks are for stabilizing. Once level, deploy the stabilizers to firm up the coach. This reduces the rocking and swaying you feel when walking around inside, making your RV feel solid and stationary.
Connecting the Utilities: The Final Step in Setting Up Your RV
With the coach level and secure, you can now focus on bringing the campsite amenities online. The order of hookups matters for hygiene and efficiency. Start by connecting the electrical cord. Plug it into the pedestal and then into your RV. If your RV uses a surge protector, plug that into the pedestal first, it’s cheap insurance against campsite power spikes. Next, connect your water system. Attach a water pressure regulator to the spigot before connecting your hose to protect your RV’s plumbing from high park pressure. Finally, connect your sewer hose. This is always the last utility connection. Ensure the hose is securely fastened at both ends and that it runs downhill slightly for proper drainage.
With all utilities connected and the stabilizer jacks down, the heavy lifting of setting up your RV is complete. Now, you can confidently extend your slides, roll out the awning, set up your chairs, start a fire, and finally start enjoying the quiet of the outdoors!
RV Savvy provides RV inspections for Coastal Virginia & Southwest Florida. Contact us today to schedule your services.